
Plan the sizes and the garment together
A jacket size curve combines two decisions: which sizes belong in the range and how many units to request in each. The useful starting point is your intended customer, followed by the actual garment and a repeatable measurement method. That sequence connects buying quantities to a fit reference instead of leaving the size labels to carry the whole meaning.
This guide provides a working approach for a B2B enquiry. It covers exact product labels, body and garment measurements, a base reference, construction, quantity planning and sample review. The worksheets are for the buyer to complete with project data; they do not prescribe a universal size conversion or a fixed sales ratio.
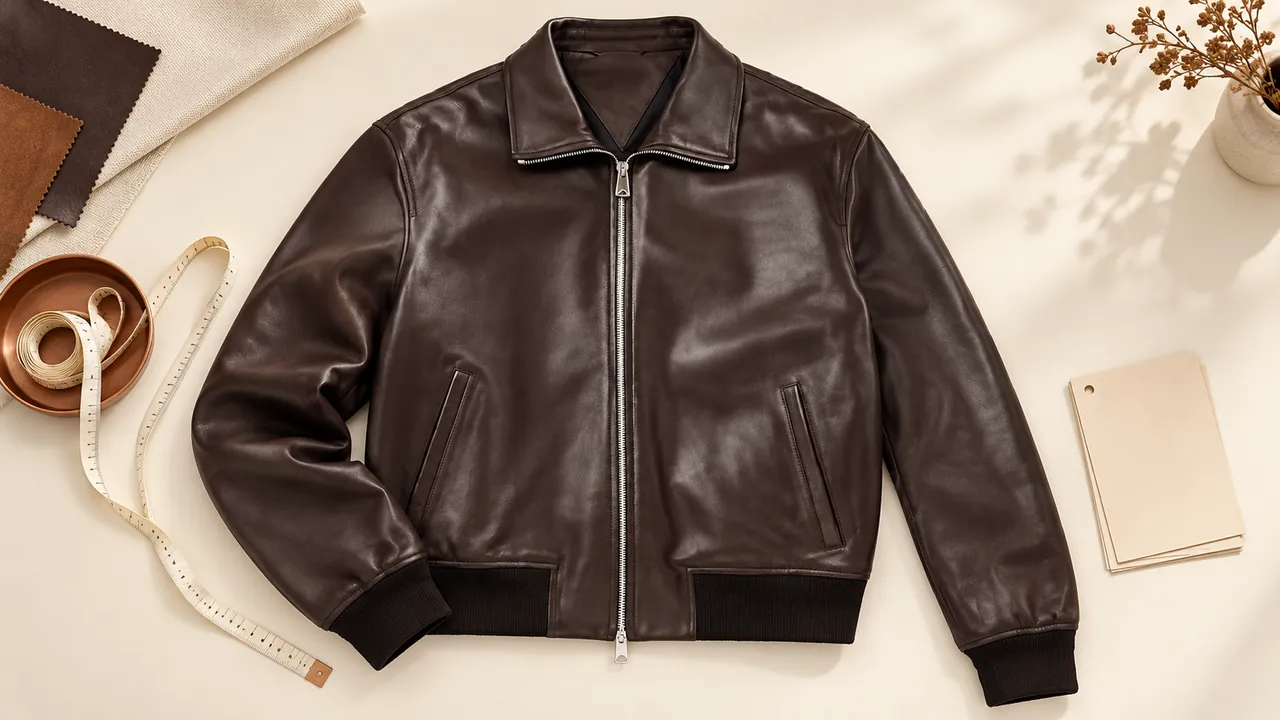
For the shorter overview, begin with the jacket sizing and fit development guide. Use the detailed process below when preparing a multi-size range.
Keep three records distinct
- The size label
- The identifier used for the selected product or your intended range, such as a letter label or a product-specific number pairing.
- The intended wearer
- The body profile and market segment for whom the garment is being developed.
- The finished garment
- The measured jacket, including its construction, silhouette and the ease selected for the intended fit.
Each record serves a different purpose. A letter label helps identify an ordered variant. A body profile helps describe the wearer. Finished measurements describe the garment that will be made or reviewed. Put them in separate fields so one can be related to the others without replacing them.
As a technical reference, ISO 8559-1 addresses body-measurement definitions used in clothing development. A buyer's finished-jacket sheet is a separate project document. State clearly which kind of measurement is being supplied and use a consistent method within that sheet.
Copy the selected product's labels accurately
Preserve spelling and number pairings when preparing the enquiry. Two products can use similar labels while describing different ranges or fits. Keeping the original label attached to its product link allows the commercial and sample discussions to identify the exact variant you mean.
For example, the black PU-shell hooded bomber offers S, M, L, Xl and 2 XL. The women's mixed-panel jacket uses Size(US) labels Xs(0), S(2), M(4), L(6) and Xl(8). These examples are useful because the enquiry can carry each product's actual labels into its own worksheet.
If you want a different range, describe it as a development request and add the target measurements. Keep that request distinguishable from the product's currently displayed options. This gives the discussion a clear route from the catalogue reference to the range you are planning.
Choose a base reference that represents the intended fit
Select a garment or sample that communicates the fit you want. Record its identity, size label and revision, then explain what should be retained or changed. A useful note might identify a shorter body, a different sleeve proportion or more room for the layer worn beneath the jacket. Connect each request to the relevant measurement point.
Describe the silhouette in words as well as dimensions. Slim, regular, boxy and dropped-shoulder directions can lead to different relationships between the body, shoulder and sleeve. The physical reference, sketch and measurement sheet work together to communicate those relationships.
For an existing garment used as a reference, distinguish its measured dimensions from the targets requested for the new version. Keep a short change column rather than overwriting the original information. That makes the design intention visible and supports a more focused review when the first development sample is discussed.
Write a measurement method someone else can repeat
Choose the unit before recording dimensions. Name the start and end points and describe the tape path. Note the fastening position and how the garment is laid out. A flat width and a full circumference belong in separate, clearly named fields, even where they are related.
| Point | Method to define in the brief |
|---|---|
| Body length | Start landmark, end landmark and front or back view |
| Chest | Position below the armhole and whether the entry is a flat width |
| Shoulder | Relevant seams or landmarks for this construction |
| Sleeve | Starting point, route along the sleeve and cuff endpoint |
| Hem or waistband | Measured condition and whether rib or adjustment is included |
Add a diagram when a construction makes the measurement path unusual. A raglan sleeve, dropped shoulder or adjustable hem benefits from its own explanation. Use the same method for the reference and review measurements, so differences describe the garment rather than two ways of using the tape.
Review the fit with the actual construction
Keep shell, lining, filling and trims in the fit discussion. These components form the garment being reviewed, together with its pattern and intended layers. A filled bomber and a compact biker may be aimed at different proportions even when a size label is shared.
Describe the clothing expected beneath the jacket and the movement you want through the shoulder and sleeve. For a cropped style, record the intended hem position and review it with the body length. For a hooded design, include the collar and hood arrangement in the sample discussion so the upper-body proportions are considered as a whole.
Where a range combines different styles, maintain a measurement sheet for each one. Shared brand labels can remain consistent while the actual garments use different dimensions suited to their constructions. The materials guide helps keep the component choices visible alongside the fit reference.
Build the quantity curve from your buying plan
Use your own customer information, sales history where relevant, and the role of the style in the assortment to decide the initial quantity mix. Record the intended market and the basis for the plan. An established core style may have a different buying pattern from a new silhouette being introduced to the range.
List each style, colour and exact size label as an identifiable line. Put the requested quantity beside it, then check that the line quantities add up to the style total and the overall enquiry. Keep any commercial minimum or mixing condition received in the quotation alongside that plan so revisions remain traceable.
| Field | Buyer entry |
|---|---|
| Style and version | Exact product reference or development name |
| Colour | Accepted shade or selected option |
| Size | Exact label and measurement-sheet reference |
| Quantity | Requested units and line total |
| Planning basis | Customer information, assortment role and review date |
Discuss grading and custom sizes as defined work
When extending or changing a range, supply the desired labels and the target body or garment information clearly. Identify the base size and the fit relationships that should continue across the range. Ask the development discussion to address the measurements that change between sizes and the points that need particular attention.
Custom-size and made-to-measure enquiries benefit from the same discipline. Name the wearer or fit reference, keep personal body dimensions separate from finished garment targets, and record any specific proportions you want considered. The custom-size enquiry collection provides product starting points with explicit sizing scope.
Keep a record of the accepted range and the sample coverage agreed for the project. This allows later feedback to refer to a specific version and size, rather than treating a comment on one sample as an instruction for every garment in the assortment.
Review the curve at three levels
First review each line: product, colour, exact label, measurement reference and quantity. Then review the style total. Finally compare the styles within the whole assortment. This sequence makes it easier to see whether the buying plan reflects the role assigned to each garment, while preserving the fit decisions made for the individual style.
Keep a short reason beside a changed quantity. A revision may come from a fit review, an updated customer profile or a different range plan. Naming that reason helps the next review distinguish a design change from a commercial adjustment. It also keeps the original basis available when the plan is revisited.
Decide who will approve the measurements and who will approve the buying quantities. One person may hold both roles, but the two decisions still need their own record. A measurement change can affect fit; a quantity change affects the order mix. Carry both into the current enquiry version when they are linked.
Before sending the range, check that every requested label has a measurement reference or a clearly identified development question. Confirm that the quantities add up and the colour names match the chosen product options or accepted shade references. Attach the base-fit record and the current revision. The completed package should let another person identify the intended wearer, the actual garment and the buying quantity without translating between separate messages.
Close the loop with an approval record
Review the sample against the current sheet using the named measurement method. Record the actual measurements, the observation and the decision for each point. Keep fit comments connected to the intended layers and silhouette, so a requested change has a clear design purpose.
If the sample is revised, update the sheet and quantity plan where necessary. Record the accepted reference and the remaining decisions in the sample approval package. Carry that current version into the quotation and order discussion.
To prepare an enquiry for Qingdao Relia Jacket Co., Ltd., send the product links, exact size labels, quantity mix and measurement reference. Explain the fit decisions you want to discuss first. A clear size curve makes that conversation more useful by connecting the customer, the garment and the buying plan in one package.
Discuss Your Jacket Size Range