Describe the finished mark before choosing the process
A strong jacket artwork brief explains what the finished mark should look like, where it belongs and how it relates to the garment. Embroidery, embossing, print, patches and labels offer different design directions. Start with the intended result, then connect the proposed method to the actual material and application area.
For a B2B project, the most useful package contains the artwork file, finished dimensions, position, colour reference and a clear approval route. It also identifies the garment version and any construction or care requirement that matters to the application. This guide sets out a practical way to assemble that information and review the proof.
Use the custom jacket development guide to connect the artwork with the broader material, sizing and sample decisions.
Define the visual direction in buyer language
Explain the role of the mark: a small chest identity, a prominent back graphic, sleeve lettering or an internal label. Describe whether you want a raised stitched effect, a pressed surface impression, printed colour or a separately attached emblem. These descriptions help keep the design intention clear while the appropriate process is discussed.
Provide a clean artwork file and a reference showing the preferred finish. If the reference has features you do not want, name them. A simple note about the desired edge, contrast or level of prominence is often more useful than adding several unrelated images.
Keep each element identifiable. A chest logo, sleeve text and back design may share a brand identity while needing different dimensions and placement instructions. Give every element its own line in the artwork schedule so a revision to one mark can be followed without changing the rest of the garment brief.
Map the application to the actual jacket surface
Name the component that will carry the artwork: body panel, sleeve, collar, lining or label. Record the material and finish of that component, together with nearby seams, pockets, zips or other details that affect the available space. A front view alone may not explain the panel boundary clearly, so include a close-up or annotated drawing where useful.
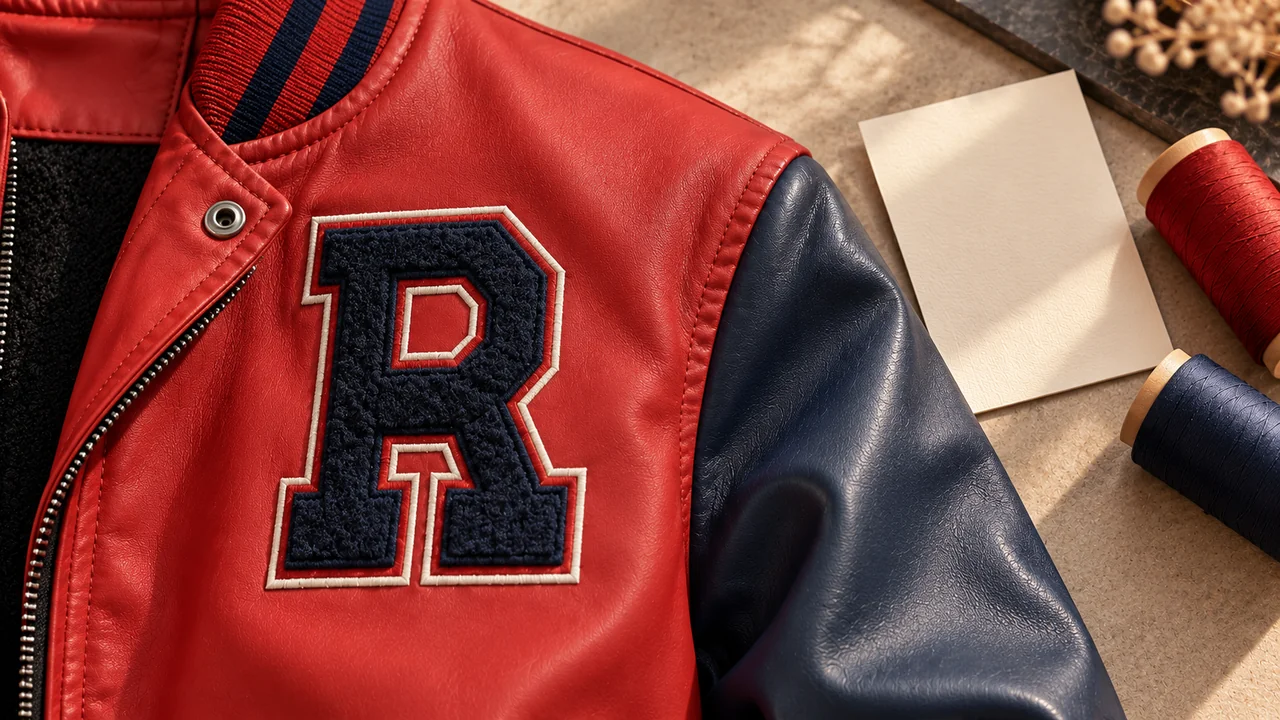
For a varsity design, the body and sleeves can have different material identities. For a mixed-panel jacket, the proposed artwork area may sit across a seam or within a contrasting section. The component map makes that relationship visible before the proof is developed.
Include the selected colour and surface reference. A mark intended to blend into the surface needs a different visual discussion from a high-contrast graphic. The jacket materials guide helps organise substrate, lining, filling and trim without losing the particular component being decorated.
Use method cards to structure the discussion
Embroidery
Describe the stitched appearance, thread colours and finished dimensions. Review the actual design detail and the selected surface together in the proof discussion.
Embossing
Describe the pressed impression, its dimensions and the visual reference. Identify the panel and the finish on which the effect is requested.
Supply the artwork colours, coverage and finish reference. Connect the proposed printing treatment to the chosen garment component and its care requirements.
These cards describe ways to brief a result. The method chosen for the project should be linked to its actual artwork, material and sample. In its leather embroidery guidance, equipment maker Melco discusses material trials and design density. For buyers, the practical takeaway is to review the specific artwork on the actual surface rather than relying on the process name alone.
A patch or label can also be discussed as its own component. Record its construction and attachment requirements alongside the artwork instead of treating it as the same operation as a direct application.
Give dimensions and placement a repeatable reference
State the finished width and height of the artwork and name the unit. Show the orientation and the side of the garment. Then define placement from recognisable landmarks, such as a named seam or centre line, using the measurement path agreed for the brief.
Review how placement should behave across the size range. The artwork might retain its dimensions while its location is related to a panel, or the project may call for different artwork sizes. State the intended approach and include it in the sample discussion. This keeps the design relationship visible as the garment proportions change.
| Field | Information to record |
|---|---|
| Element | Chest mark, sleeve text, back graphic, patch or label |
| File and revision | Exact source file and accepted proof identity |
| Surface and method | Named jacket component and requested treatment |
| Size and colour | Finished dimensions, unit and colour reference |
| Placement | View, orientation, landmarks and size-range approach |
Turn a catalogue option into a precise enquiry
The catalogue includes product-specific artwork enquiry options. The men's black stand-collar zip jacket, for example, lists embroidery and silk-screen printing with front, back and sleeve logo positions. Use those details as a starting point, then identify the combination you want to discuss.
A useful request might name the selected garment, the proposed back graphic, its dimensions and the preferred treatment. Attach the component reference and the artwork version. This turns a broad custom-logo enquiry into a reviewable design request.
For another starting design, the vintage cow-leather biker-style reference lists custom-logo options. Carry the chosen garment's component details into the artwork discussion so the requested mark remains connected to its actual surface.
The custom logo and artwork collection offers further starting designs. Keep each product's listed scope connected to that product. When preparing several styles, give each one an artwork schedule so a shared brand identity can be coordinated with different garment surfaces and proportions.
Review the proof in the order a buyer will see it
- Read the artwork. Check the intended wording, shape, orientation and current version.
- Compare the dimensions. Review the finished mark against the stated width and height.
- Locate the application. Compare the position with the agreed seams, centre lines and panel boundaries.
- Review colour and finish. Use the accepted colour and visual references for the garment and the mark.
- Consider the whole garment. Review the artwork with the fit, construction and care requirements of that version.
- Record the decision. Identify accepted details and requested revisions separately.
A digital proof helps communicate layout, while a physical reference can support the review of the applied result. Name the purpose of each approval and the document or sample it refers to. The sample approval guide helps organise those records.
Keep revisions and project charges easy to follow
When feedback changes the artwork, update the source file, the proof and the schedule together. State whether the change concerns size, position, colour, treatment or the design itself. Keep the previous version identifiable so the new instruction can be understood in context.
Bring artwork preparation and setup into the quotation discussion. Identify the work included in the proposed scope and any separately charged items. If the range uses several marks or garment surfaces, distinguish them so the quotation can be related to the actual application plan.
Discuss sample coverage and review milestones at the same time. A schedule that includes artwork preparation, application review and revision decisions gives the project a clearer sequence. The commercial arrangements belong to the selected project and its quotation, with the accepted artwork version named in the current brief.
Write proof feedback that leads to a clear revision
Organise proof comments by artwork element. Begin with the current file name and the view being reviewed, then describe the requested change in a short instruction. If the back graphic needs to move, name the placement landmark and update the dimension on the schedule. If the colour direction changes, attach the new accepted reference.
Keep design feedback separate from application feedback. A request to simplify a small letter is a change to the artwork. A request to review its position on the sleeve concerns placement. A request to consider another treatment concerns the application discussion. Separating these points helps the next proof answer the actual question.
Review the approved mark at the scale at which it will appear on the garment. Use the finished dimensions in the brief and include the jacket context so the relationship to panels, pockets and seams remains visible. For a range with more than one application size, identify the intended size on each proof.
Finish the review with an action record: the accepted details, the revisions requested, the file to update and the next proof or sample to review. Keep that record with the garment specification. This gives the artwork handoff a practical endpoint and allows later comments to refer to the exact decision already made. The result is a clearer path from a design file to the agreed jacket application.
Send a complete artwork handoff
Before sending the enquiry, compare the files with the artwork schedule. The garment link, material area, treatment, finished dimensions and placement should all describe the same request. Include the quantity plan and the project dates so the application can be discussed as part of the jacket order.
Keep a compact list of the design choices you would like input on. You may have fixed artwork but want to discuss the application, or a preferred finish with placement still open. Naming those choices makes the conversation productive without losing the visual intention.
Send the current package to Qingdao Relia Jacket Co., Ltd. to discuss your selected jacket project. A clear artwork brief makes the next step concrete: the right garment reference, the right files and a proof that can be reviewed against the result you want.
Discuss Jacket Artwork